Transferring Data
After determining whether your AWB project is in the appropriate security zone data can be transferred to each AWB project. Fore more information on security zones, see "Security zones."
Data can be transferred in several ways depending upon the Security Zone of your project.
| Standard | Protected | Private | |
|---|---|---|---|
Secure File Transfer Protocol (SFTP) |
 |
|
|
| Clipboard | |
 |
|
| Objective Connect | |
|
|
| Serv-U | |
|
|
Secure File Copy (scp) |
|
|
|
| Open Data (via Web API)[1] | |
|
|
| Internet | |
|
|
Github/Gitlab (git) |
|
|
|
[1] For more information, see "Allow list for virtual machines in the protected zone."
Using Secure File Transfer Protocol (SFTP)
Adding data to your project
- You must zip the file which you wish to add to your project and name it according to the following format: zone-project-filename. For example, if you wish to add "my_file.zip" to the project "prj01" in the standard zone, you must rename it "standard-prj01-my_file.zip".
Note
Your zip file name must not contain any spaces.
-
Move your file to the appropriate landing zone given to you by your SPACe helpdesk (contact your SPACe helpdesk if you don't know where this is). Scottish Government staff can access the landing zone by visiting \\sdx\AWB-Users from File Explorer.
Linux
-
Your file will be moved to the
/import/<PROJECT_NAME>/directory on your VM. Anyone who is part of your project will be able to view your file! -
Log in to your VM and copy your file from
/import/<PROJECT_NAME>/to your home directory.
Windows
-
Your file will be moved to the
S:\Importdirectory on your VM. Anyone who is part of your project will be able to view your file! -
Log in to your VM and copy your file from
S:\Importto your home directory.
-
Moving data from your project
-
You must zip your file and name it with with your organisation username.
Linux
- Move your file to the
/export/<PROJECT_NAME>/directory. Anyone who is part of your project will be able to view your file until it is moved by the file transfer process.
Windows
- Move your file to the
S:\Exportdirectory. Anyone who is part of your project be able to view your file until it is moved by the file transfer process!
- Move your file to the
-
Your file will be moved to the landing directory given to you by your helpdesk. During this moving process, your file will be renamed according to the following format: inbound-zone-project-username. For example, "username.zip" from the project "prj02" in the protected zone, will be renamed "inbound-protected-prj02-username.zip" during this process.
Note
Consider password protecting your zip file to restrict access.
Clipboard
Copy and paste data to and from the VM using the clipboard.
Using Objective Connect
Objective Connect is a secure file sharing application. Please contact us if you would like a private workspace for sharing files.
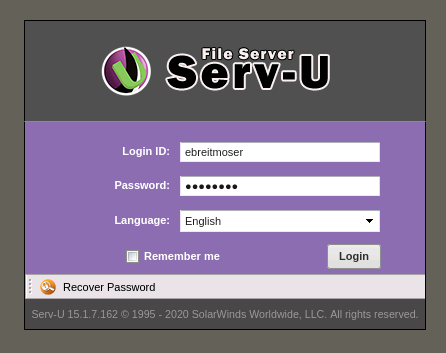
Using Serv-U
With Serv-U you can share files or compressed (zipped) folders. You can either add files to the Desktop-VM or to the Windows-VM and you can take them off it, you use the same method for both. You will need a username and password for Serv-U, which is now created automatically for new users.
You can access Serv-U at https://data-transfer.epcc.ed.ac.uk/.
If you do not currently have a Serv-U account and would like one, please contact the SPACe helpdesk.
To upload a file to Serv-U select the 'Send Files' button in the top left hand corner once you are logged in.
On the Send Files page you will need to add a guest email at the bottom left (the email can be your own) and a guest password on the right in the middle. Then select the 'Next' button.
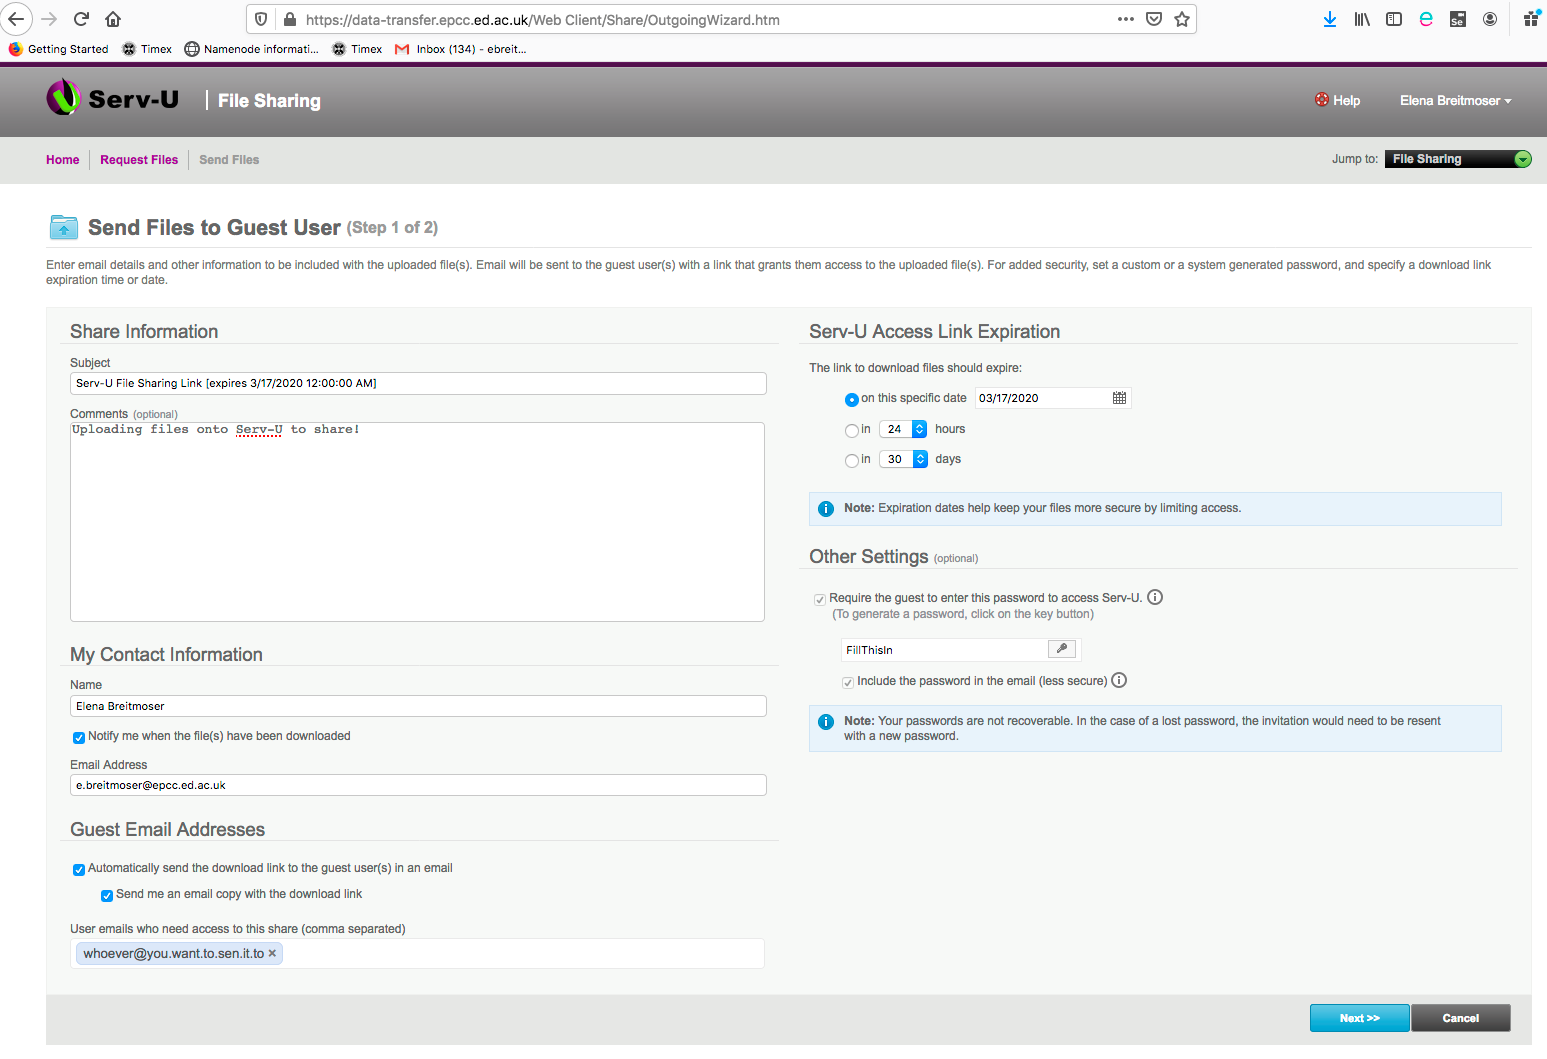
On the next screen add all the files you want to share by using the Browse button to find them on your local computer:
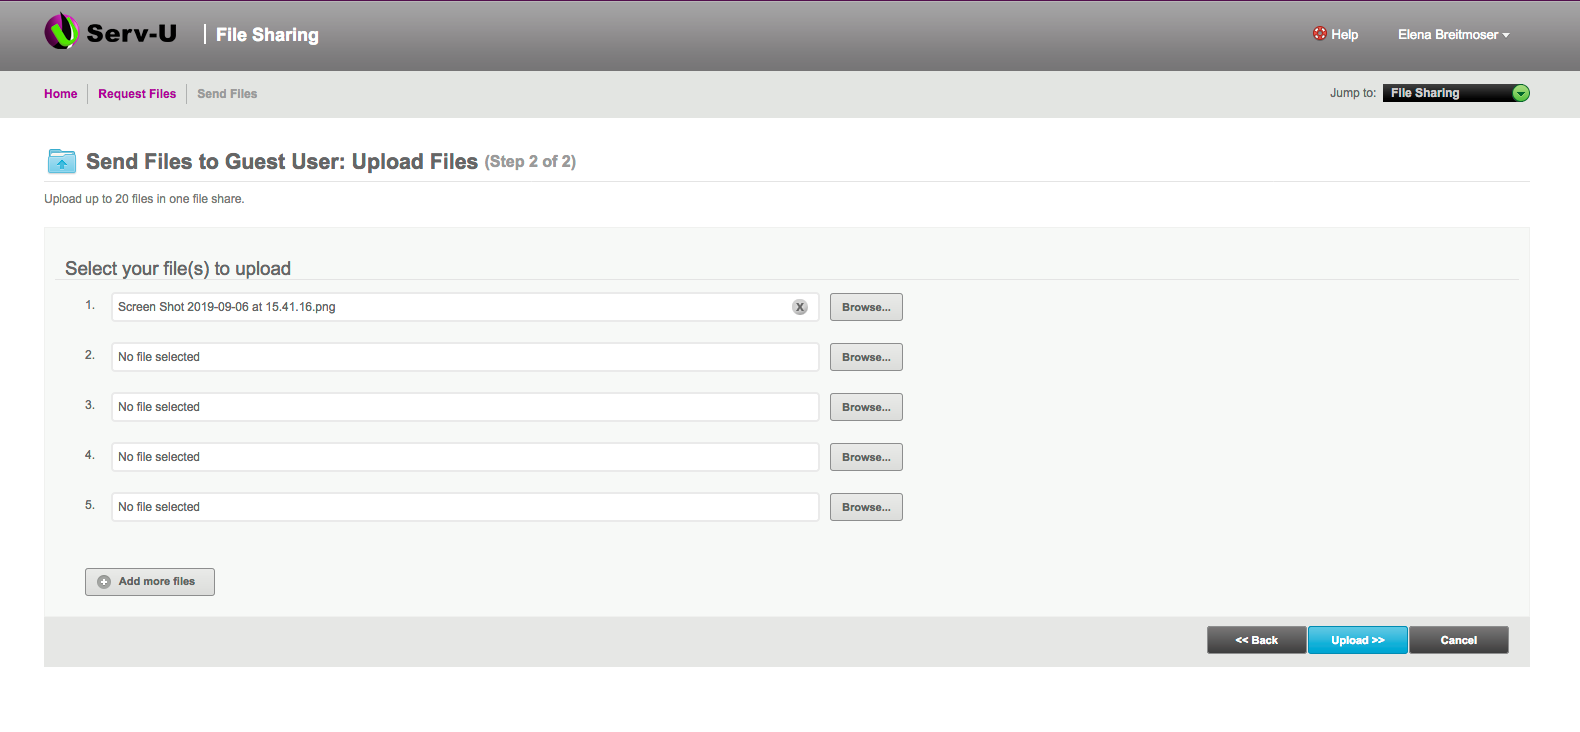
Click Upload when you are finished, then Done on the next page. This will send an email to the guest user email informing them about the availability of the files for them on Serv-U.
To download the file to the VM, open a web browser in the VM and then put in the web link from the email you received from Serv-U. You will be asked for the unique password that you set up as a guest password that you can choose.
Then choose the file(s) you want to download to the VM
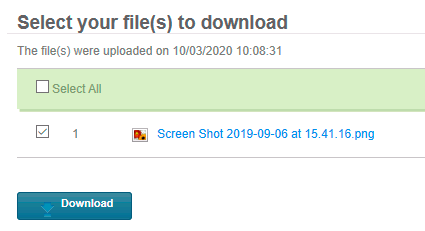
You will then find these files in the Download folder in your user directory on the VM.
Using secure file copy (scp)
Secure File Copy is a tool in Linux that allows you to copy a file between computers. If your host machine allows it, you can use scp to copy data from it to the Desktop-VM or vice versa. Or you can use pscp to copy data from it to the Windows-VM or vice versa. This is something that is being discussed with IT teams to see how this would work with organisational connections such as those at the Scottish Government.
Using Open Data
The Desktop view is connected to the internet and though downloading from email accounts and other services has been disabled you will be able to connect to open data platforms. So if the data you are looking for is on those platforms then you can use your normal code to connect to the data and download it.
For example, you can get data from the Scottish Open Data platform at statistics.gov.scot. To do this you need the endpoint of the data you want. The following example shows the API (Application Program Interface) endpoint for the SIMD open data.
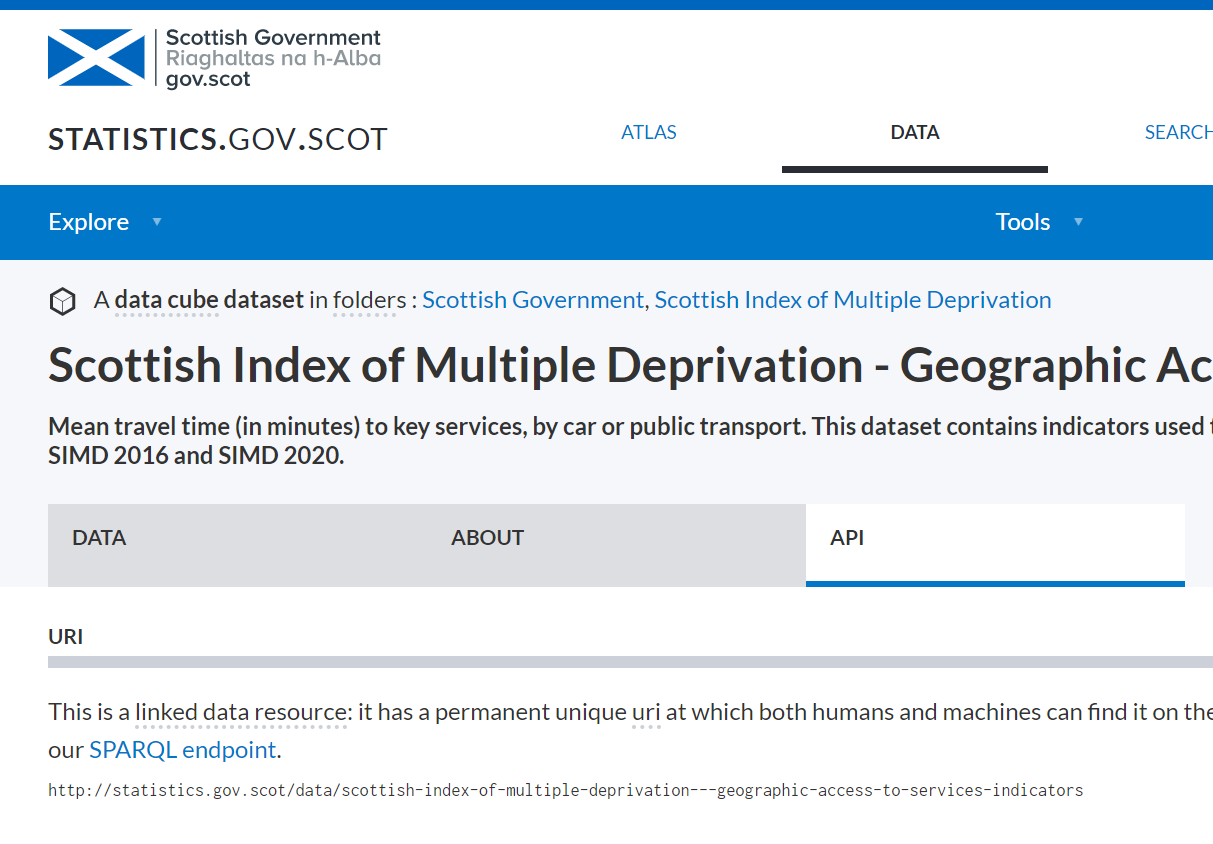
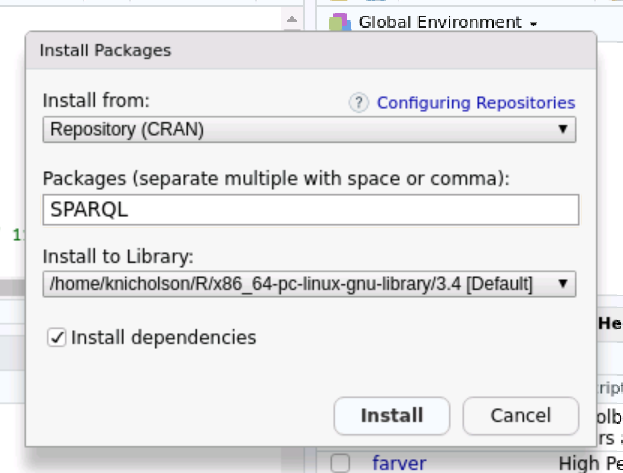
The endpoint for SIMD is here. The end point is a web address that you can dial out to using a programming language such as SQL, or a JSON interpreter. The main interface for SIMD is a graph database and you will need to write a SPARQL query in RStudio to connect to it.
Using the internet
Using git repositories
If you need to access a remote git repository you will have to interact with it via a Terminal command line. In the future that should be made easier by providing a 'git pull'-button.
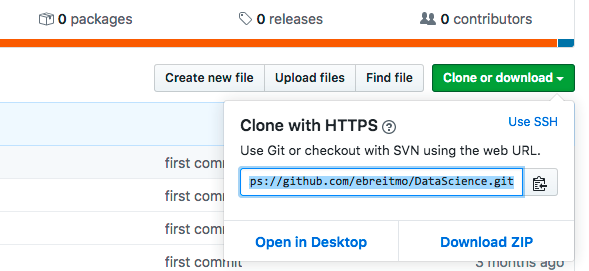
To download data from an external git repository from a terminal window use the following command:
git clone https://github.com/ebreitmo/DataScience.git MyNewDirectory
This will retrieve everything from https://github.com/ebreitmo/DataScience.git and put it into the new directory MyNewDirectory on the VM. Omitting the new directory name will create a directory 'DataScience' as the repository's name above indicates and put the repo's content there.
Other Methods
Data upload methods will develop over time. This includes the longer term plan of using the data lake methodology for adding data that can be shared within the Analytical Workbench by all its users. There will be a number of information governance and data sharing challenges that will need to be dealt with but the end product should be a much easier way of accessing data.